
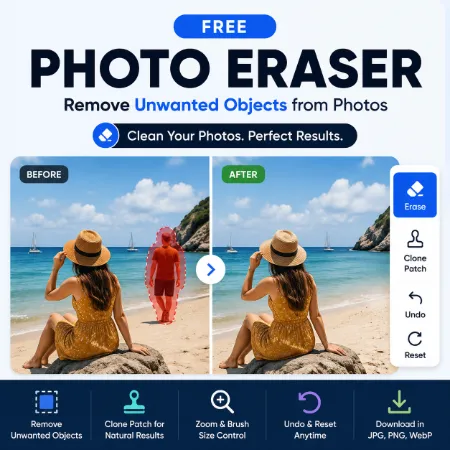
This Free Photo Eraser is designed for quick and simple photo cleanup directly in your browser.
You can use it to remove unwanted areas, clean distractions, repair small image problems, and improve photos without complicated editing software.
The tool provides two main editing methods: Erase and Clone Patch, along with Brush Size, Softness, Zoom, Undo, and Reset controls.
How to Use the Photo Eraser
1. Add Your Photo
Click Choose Photo and select the image you want to edit.
Your photo will appear in the preview area. No editing tool is active when the photo first opens, so you can adjust the view before you start editing.
2. Adjust Brush Size, Softness, and Zoom
Before editing, adjust the controls for your photo.
Brush Size controls how large an area the brush affects.
- Use a small brush for edges and fine details.
- Use a larger brush for bigger areas.
Softness controls the edge of the eraser.
- Lower softness creates a harder, sharper edge.
- Higher softness creates a smoother, feathered edge.
Zoom helps you work on small details more accurately. When you zoom in and no editing tool is active, you can drag the photo to reach different areas.
3. Remove Areas with Erase
Click Erase to activate the eraser.
Move the brush over the unwanted area of the photo to remove it.
For better results, remove small sections gradually instead of trying to erase a large complicated object at once.
Adjust Brush Size and Softness as you work.
4. Repair an Area with Clone Patch
Clone Patch copies pixels from a clean part of your photo and uses them to repair another area.
The important part is selecting a good source area.
To use Clone Patch:
- Click Clone Patch.
- Tap a clean area of the photo that you want to copy. A colorful ring shows the selected source.
- Click Clone Patch again to start patching.
- Brush over the unwanted object or damaged area.
- The selected source area is copied over the area you brush.
For the most natural result, choose a source with similar color, lighting, texture, and background.
5. Choose a New Clone Source When Needed
One clone source may not work well for every part of a photo.
If you move to an area with a different background:
- Click Clone Patch again.
- Select a new clean source area.
- Click Clone Patch again.
- Continue brushing over the area you want to repair.
Changing the source as you work can produce a much more natural-looking repair.
6. Switch Back to Erase
Click Erase whenever you want to leave Clone Patch and return to normal erasing.
You can switch between Erase and Clone Patch while working on the same photo.
7. Undo or Reset
Made a mistake?
Use Undo to return to the previous editing step.
Use Reset if you want to discard the edits and restore the original photo.
8. Download Your Edited Photo
When you are satisfied with the result, choose an output format:
- JPG — a good choice for most photos
- WebP — useful when you want a smaller file size
- PNG — useful when you want lossless image output
Click Download to save the edited photo.
Tips for Better Results
For cleaner edits, zoom in and work slowly. Use a smaller brush near edges and increase Softness when you want the erased area to blend more smoothly.
When using Clone Patch, avoid choosing a source that looks very different from the area being repaired. Nearby areas with similar texture and lighting usually produce better results.
For larger or complicated objects, repair the photo in several smaller sections and choose a new clone source when necessary.
Simple Photo Cleanup in Your Browser
The Free Photo Eraser focuses on practical manual photo cleanup rather than complicated editing controls.
You can use it for:
- Removing distracting areas from photos
- Cleaning product images
- Repairing small photo imperfections
- Improving website images
- Preparing pictures for sharing online
The combination of Erase and Clone Patch gives you two ways to clean a photo: erase an unwanted area directly or repair it by copying a similar part of the image.
Try the Free Photo Eraser
Add your photo, choose Erase or Clone Patch, adjust the brush, and start editing.
For detailed areas, use Zoom, Brush Size, and Softness to get more control. When finished, download the edited image in JPG, WebP, or PNG format.
