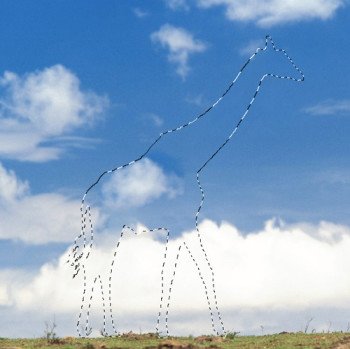
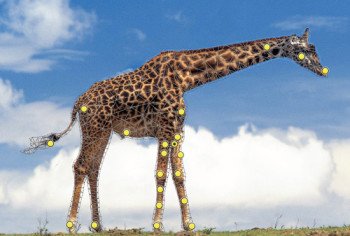
Puppet Warp tutorial covers a new tool that comes to Photoshop CS5 from After Effects. Puppet Warp has been used for a long time to freely push and pull elements of an image in any direction. With Puppet Warp and Photoshop CS5 you can interactively reposition, reshape, and transform key objects in your photos. Puppet Warp provides a visual mesh that lets you drastically distort specific image areas, while leaving other areas intact. Puppet Warp tool in Photoshop CS5 can be used for the repositioning of person’s arm or leg, warping and stretching text for creative effects, or improving photo composition by moving intrusive objects. This is the third tutorial (Content aware Photoshop CS5 tutorial, HDR Photoshop CS5 tutorial) in the series of tutorials focused on Photoshop CS5 new features.

1. In the Layers panel select the object you want to transform with Puppet Warp and copy it to the new Layer.

2. Fill out the background hole which remains afterward with Content Aware fill.

3. Convert the selected object you’re going to transform to the Smart Object (right click on the layer, select Convert to Smart Object).
4. Select Edit->Puppet Warp and click the image to add some pins which will be both anchor points where you want image parts not to move, and handles that you can use for warping. You can delete pins by Alt clicking on them.

5. Now select any pins/handles to move or select multiples pins using the Shift key and drag them to reposition or reshape part of your object.
6. Puppet warp tool has some settings which adjusts the way the image is transformed. Choose Distort for creative distortions and Rigid when you want to maintain pixel fidelity of the targeted pin. The Pin Depth settings in Puppet Warp’s options bar give you the ability to define a stacking order of pins that overlap (Z-depth).
![]()
7. To temporarily hide adjustment pins, press the H key. When you’re ok with the result, click the checkmark in the Warp’s options bar or press Enter.
The original image

Image edited in Photoshop CS5 using Puppet Warp tool
