
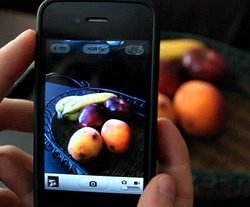
iPhone HDR feature which appeared in iOS 4.1 release made an already excellent iPhone camera better. It’s officially available on iPhone 4 only, but you can Google how to hack iPhone 3G and 3GS to enable HDR. iPhone HDR works as follows: camera takes three photos with a different exposure in a short burst and then software blends it together compositing an HDR image in a complete auto mode. HDR mode helps you to get overall more balanced picture when the scene is in high contrast and has extreme shadows/ highlights when, for example, you’re taking picture in a bright sunlight.
iPhone HDR mode increases the dynamic range of the scene and produces an image which is closer to what the human eye really sees. Apple iPhone HDR implementation is very fast and aims for highly realistic and natural looking HDR, i.e. you will not get glowing and gritty image.
Use iPhone HDR wisely
With some scenes you’ll get the worse results when iPhone HDR is turned on. So choose wisely. The best results you’ll get shooting a high contrast scene (read more on when to use HDR). On the other hand, iPhone saves original i.e. normally exposed image along the HDR image, so you can’t go wrong and you always have a choice which photo to keep.

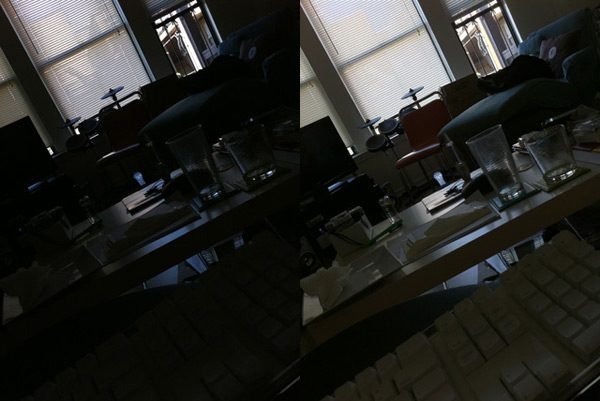
For low light scenes use flash instead of iPhone HDR
iPhone HDR mode is not suitable for low light conditions when there’s an obvious need to use a flash. IPhone HDR will not turn darkness into light in your shots. When you tap an HDR option at the top of your screen after you launched your camera, the flash is automatically turned off.
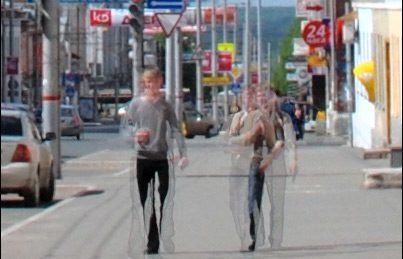
Don’t shoot moving objects with iPhone HDR
iPhone camera uses 3 separate exposures taken in very quick succession. If there is a movement in the scene, you’ll get the “ghosting” effect (a moving object will show up in different spots in the photo, with some blur between them) in a final HDR image.
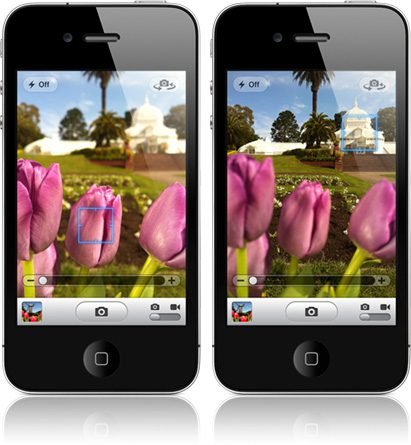
Tap dark or light area to improve HDR shot
Even though you can get a decent result even in very uneven complex lighting conditions, you can greatly improve the HDR shot by tapping on a dark or light area to shift the “anchor point” up or down the intensity scale and get a different balance from what the iPhone first decides for itself.
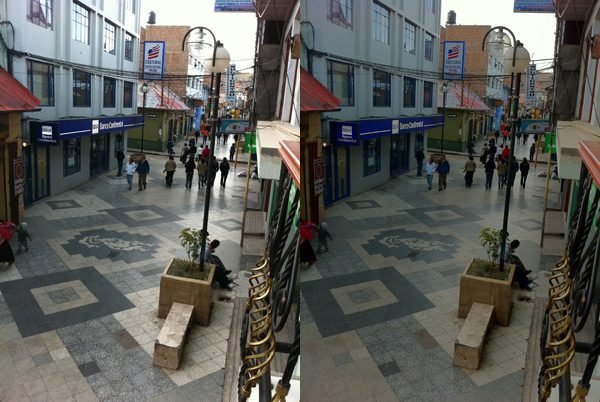
Don’t use iPhone HDR for vivid colors
Due to the nature of High Dynamic Range photography, the process of combining different exposures tends to wash out the colors. So if your intent is to capture vivid colors in the scene, turn the HDR mode off.
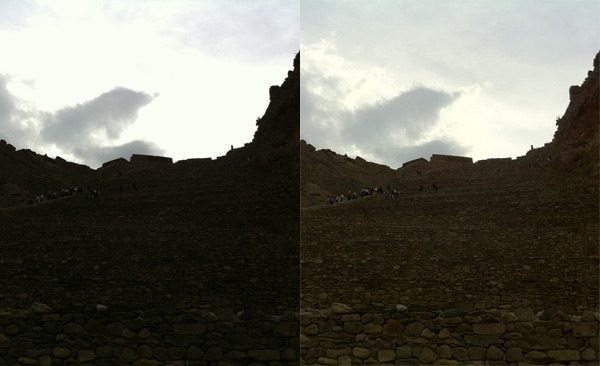
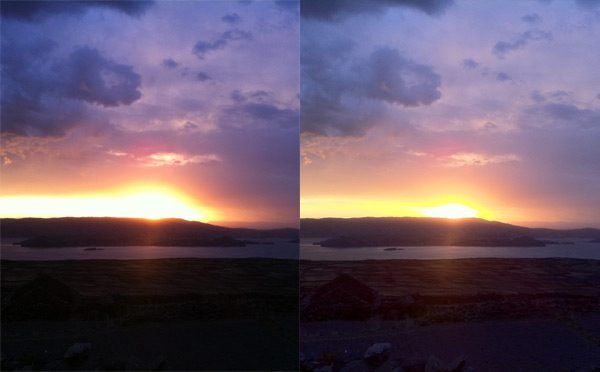
Don’t use iPhone HDR if you aim for contrast scene
When contrast is a key i.e. you want to create a sense of drama by contrasting light and dark for example , a completely black silhouette against a bright background iPhone HDR would spoil your intent. HDR shots will decrease an image’s contrast, diminishing its impact.
Experiment with iPhone HDR
The more shots you’ll take with IPhone HDR feature turned on, the more experienced you’ll be about what works better and what not. The iPhone camera is capable of doing HDR images of amazing quality which you can further improve by following these tutorials (Fake HDR Photoshop tutorial or How to make HDR photo from 1 jpg).